CAPTURE NAURE’S BEAUTY Pressed flowers preserve the fleeting beauty of nature.
TIMELESS ART An age-old technique of flattening and drying flowers.
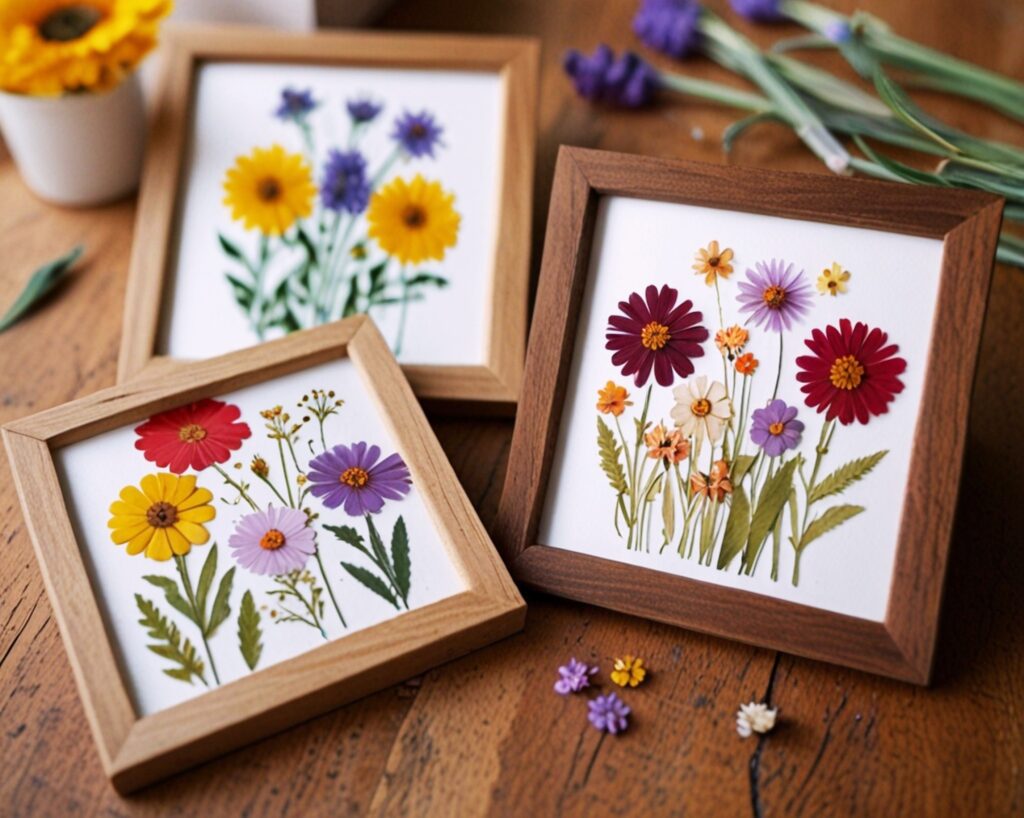
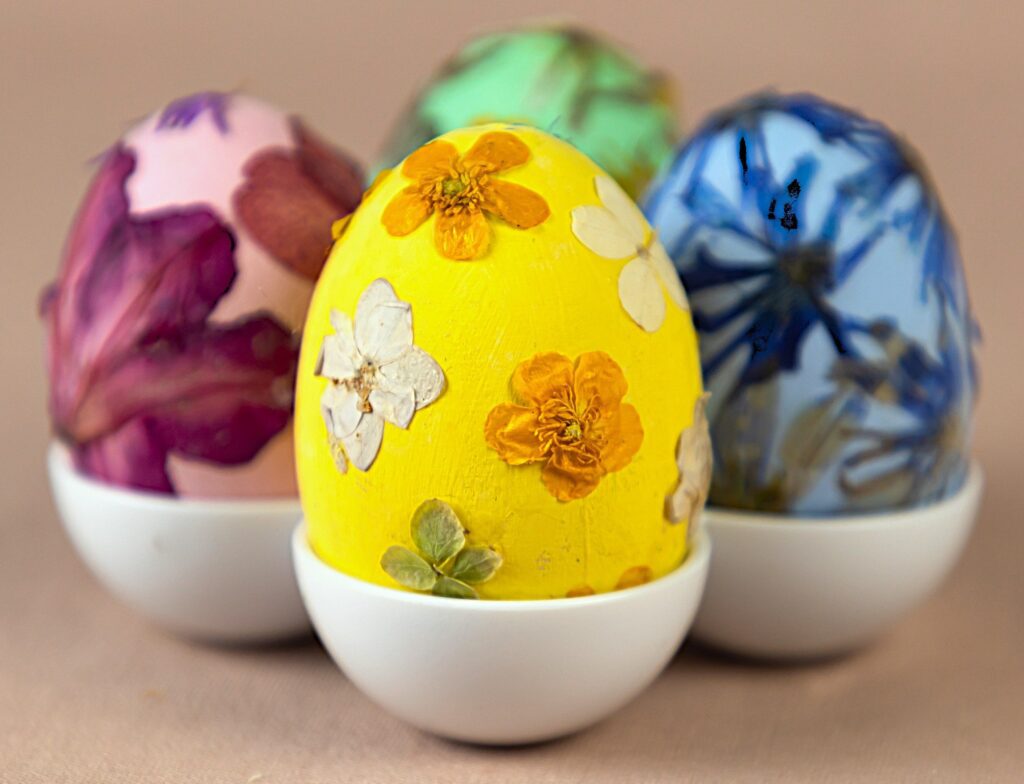
VERSATILE USE Perfect for handmade cards, framed art, bookmarks, and resin jewelry.
ELEGANT & NOSTALGIC Adds charm and a vintage feel to any project.
SENTIMENTAL VALUE A beautiful way to immortalize special bouquets or meaningful blooms.
SEASONAL INSPIRATION Spring is the ideal time to gather fresh blossoms for pressing.
CREATIVE EXPRESSION Let your creativity flourish with botanical art!
How to make Pressed Flowers
MATERIALS
Fresh flowers or leaves (thin ones work best)
Absorbent paper (parchment paper, coffee filters, or plain printer paper)
Heavy books or a flower press
Optional: Tweezers for handling delicate flowers
STEPS
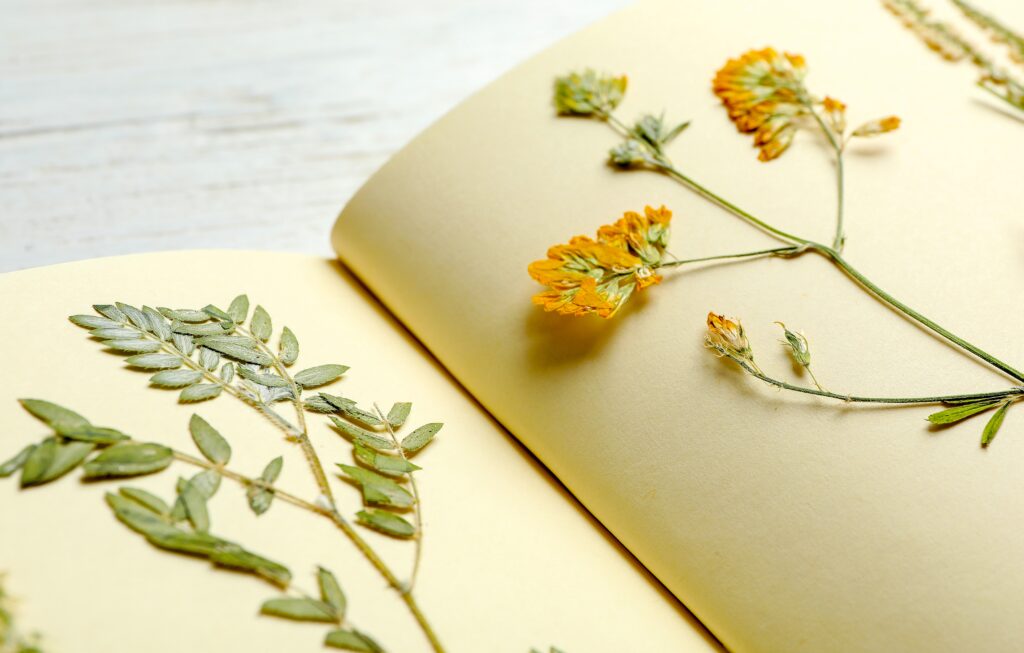
Pick Your Flowers: Choose fresh flowers without blemishes. Thin flowers (like pansies, daisies, or ferns) press more easily, but thicker blooms (like roses) can be split in half.
Prepare for Pressing: Place a piece of absorbent paper inside a heavy book or your flower press. Arrange the flowers face-down, ensuring they don’t overlap. Cover them with another sheet of paper.
Press the Flowers: Close the book carefully, making sure not to shift the flowers, and stack more books on top for extra weight. If using a flower press, tighten the screws evenly.
Wait Patiently: Let the flowers press for 2 to 4 weeks. Change the paper every few days if you notice moisture buildup to prevent mold.
Check and Remove: Gently open the book and check if the flowers are dry and flat. Use tweezers to carefully lift them if they are delicate.
Store or Use: Store your pressed flowers in a dry place or use them for crafts like bookmarks, greeting cards, framed art, or resin projects.
How to Preserve Pressed Flowers
Once you’ve beautifully pressed your flowers, proper preservation is key to keeping their colors vibrant and preventing damage. Here’s how to protect your delicate blooms:
LAMINATING Use a laminator to encase your flowers in plastic — great for bookmarks or keepsakes.
UV-RESISTANT ACRYLIC SPRAY For extra protection, spray flowers to guard against sun damage.
MOD PODGE OR CLEAR GLUE Lightly brush a thin layer over both sides of the flower. This seals moisture out and prevents crumbling.
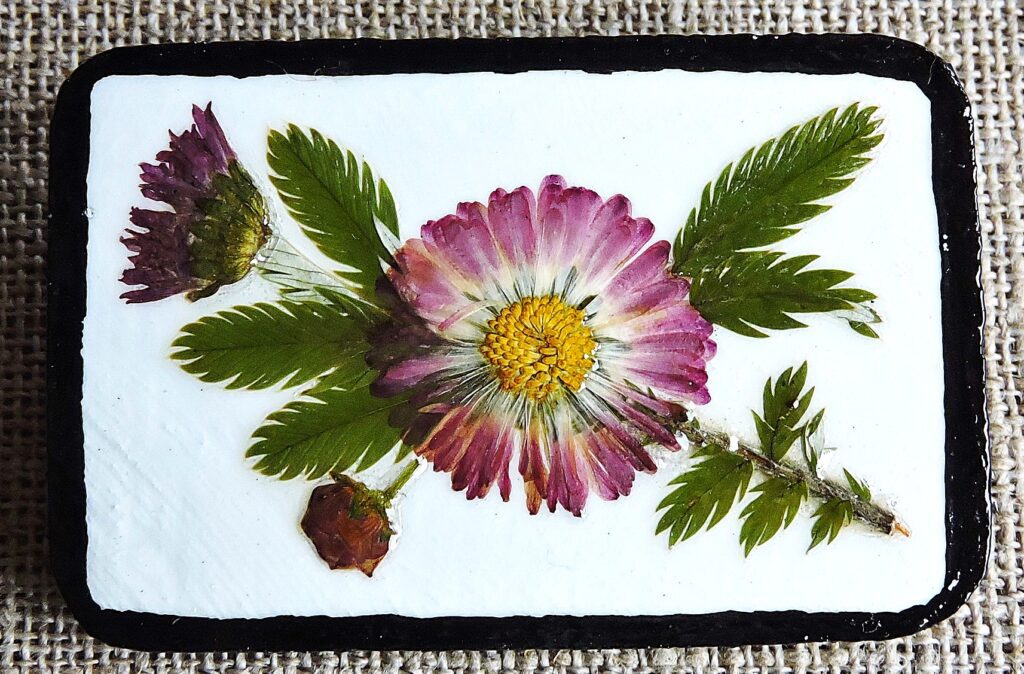
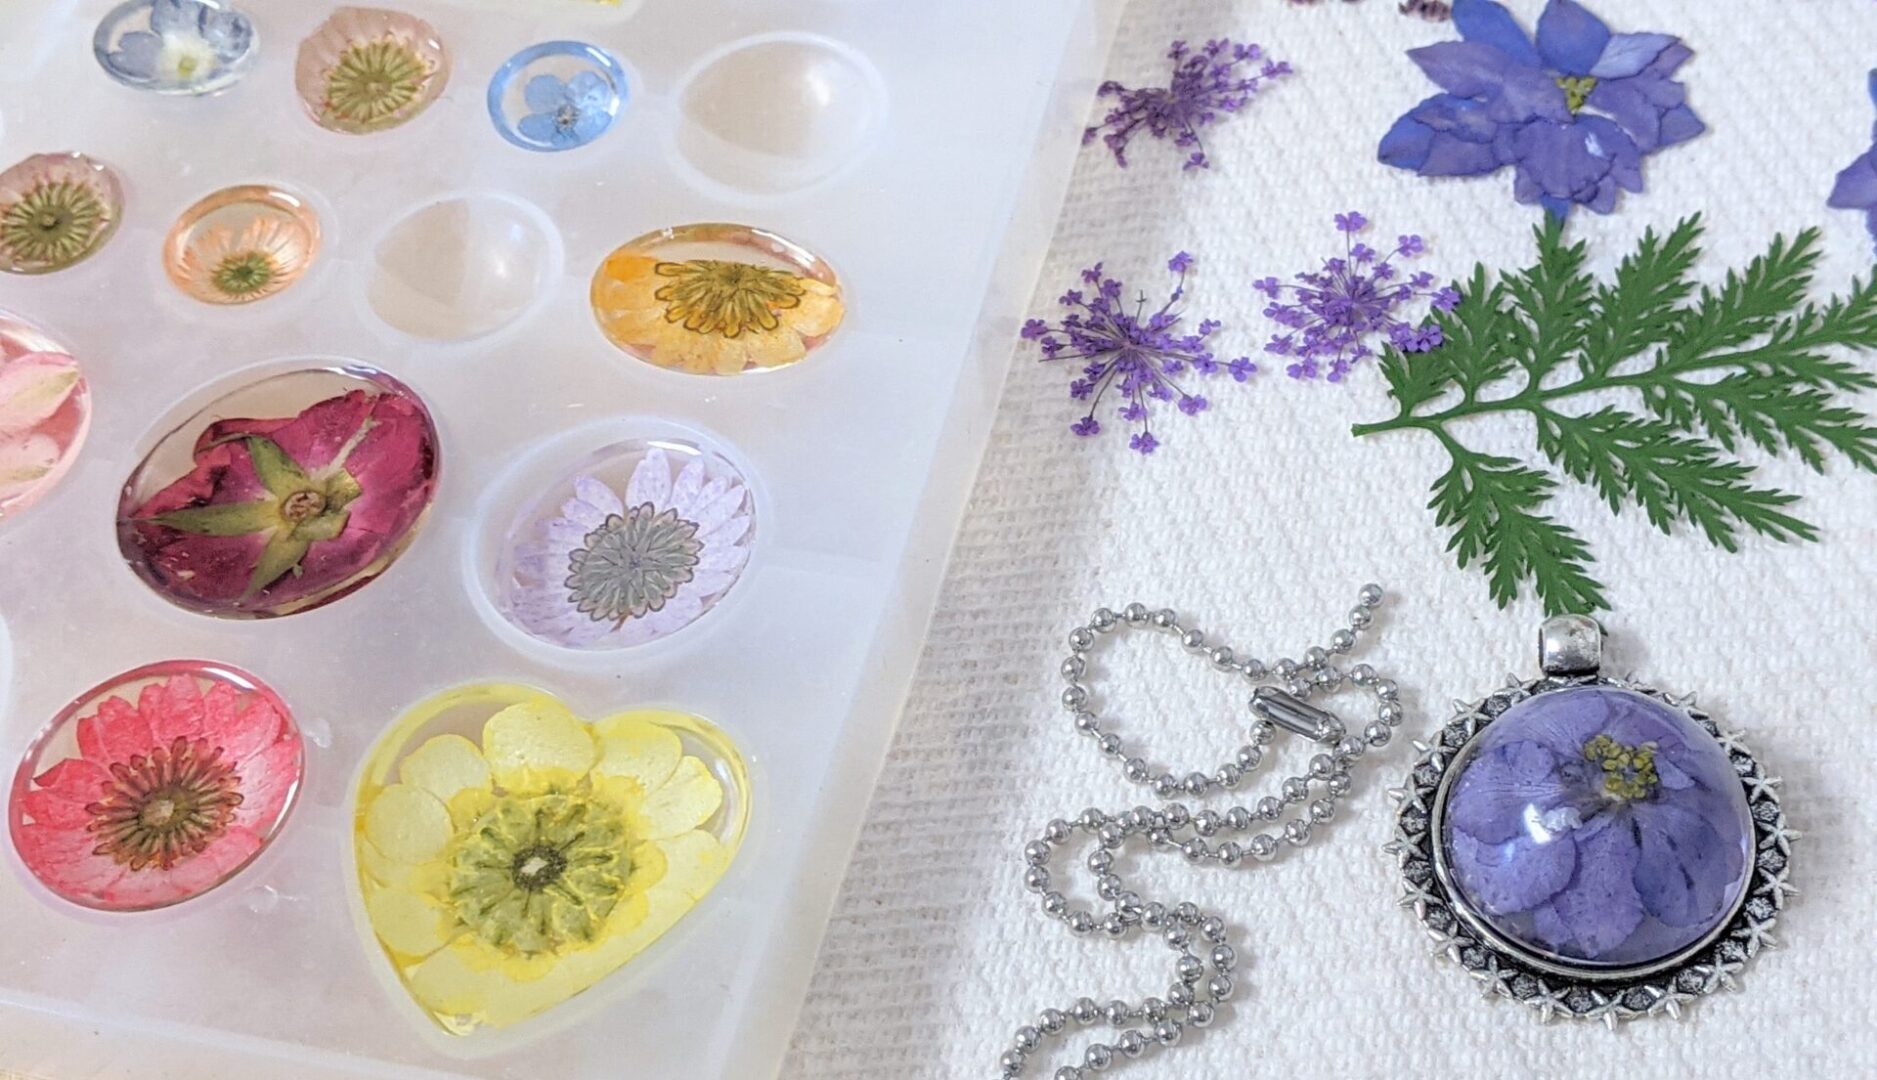
RESIN For jewelry or coasters, encase flowers in resin for long-lasting durability and a glossy finish.
FRAME THEM Use acid-free paper as a backing to prevent discoloration.
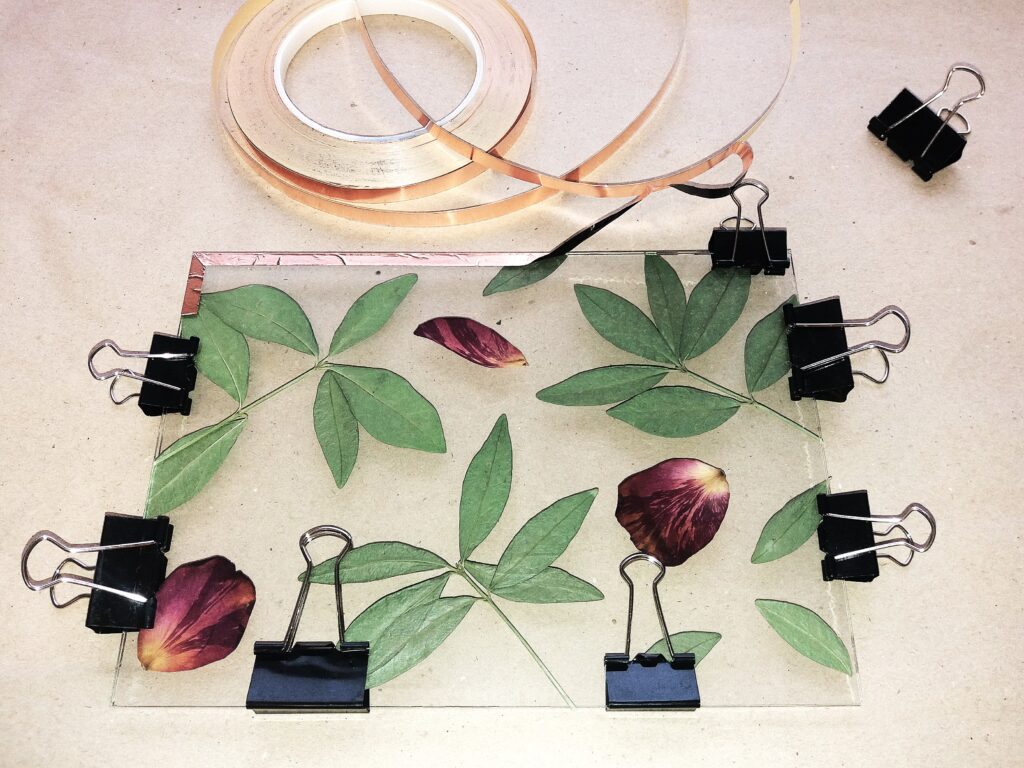
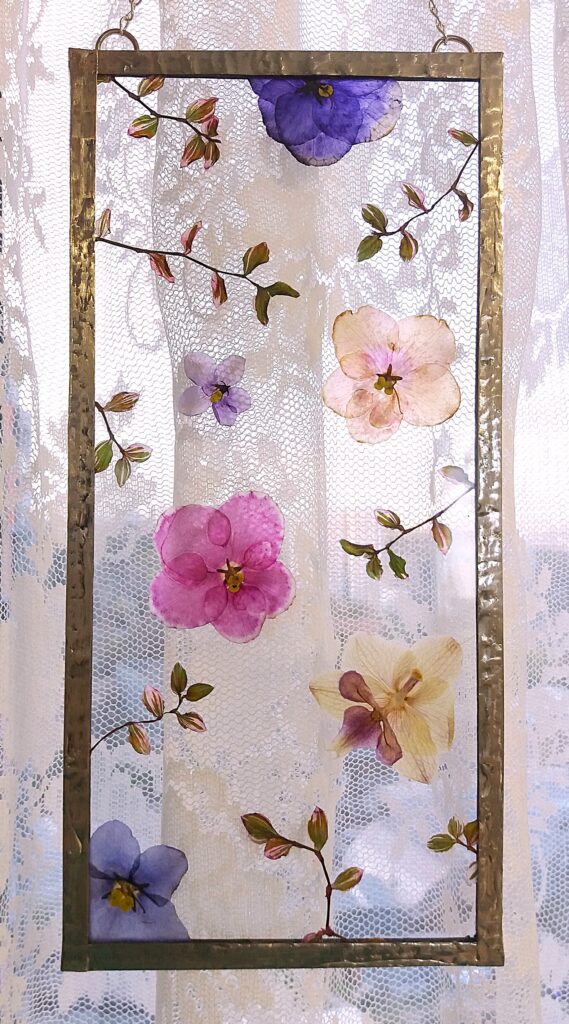
Place pressed flowers between glass panes or in a shadow box to protect them from dust, moisture, and direct touch.
Ensure the frame is tightly sealed to avoid air exposure.
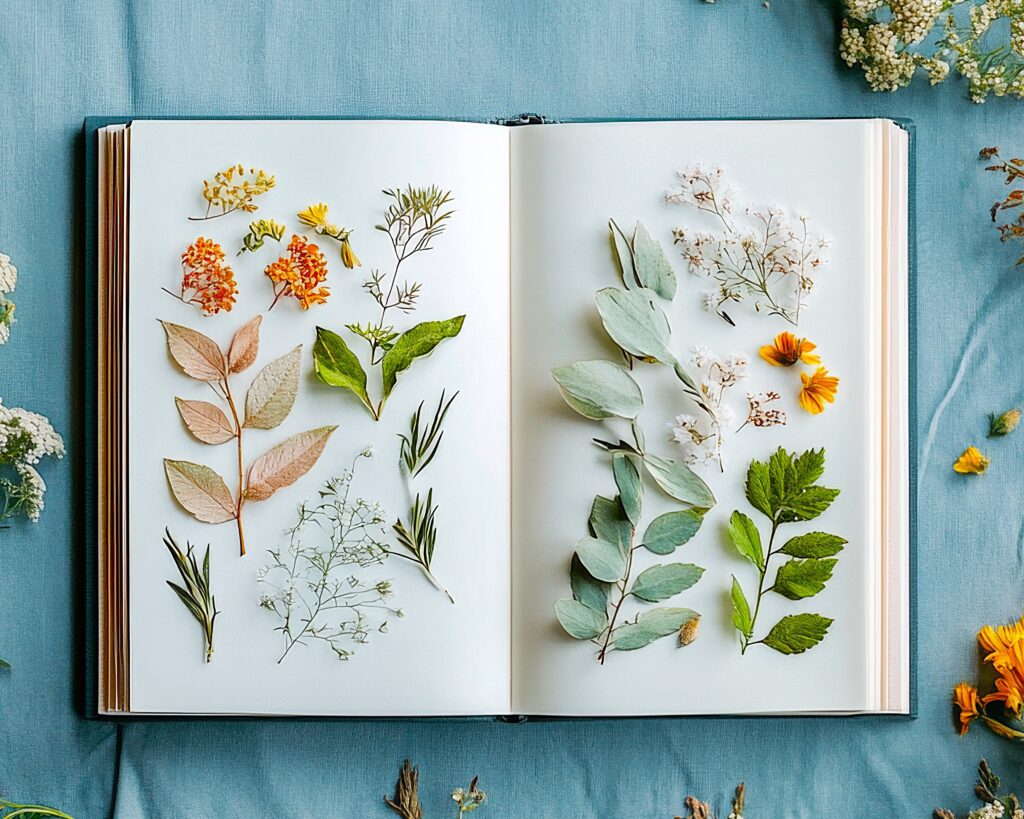
STORE PROPERLY Keep unused pressed flowers in wax paper or parchment paper folded into a book or airtight container.
Add silica gel packets to absorb any lingering moisture.
Store in a cool, dark place away from sunlight to prevent fading.
HANDLE WITH CARE When crafting, use tweezers to handle pressed flowers to avoid oils from your fingers transferring onto the petals.
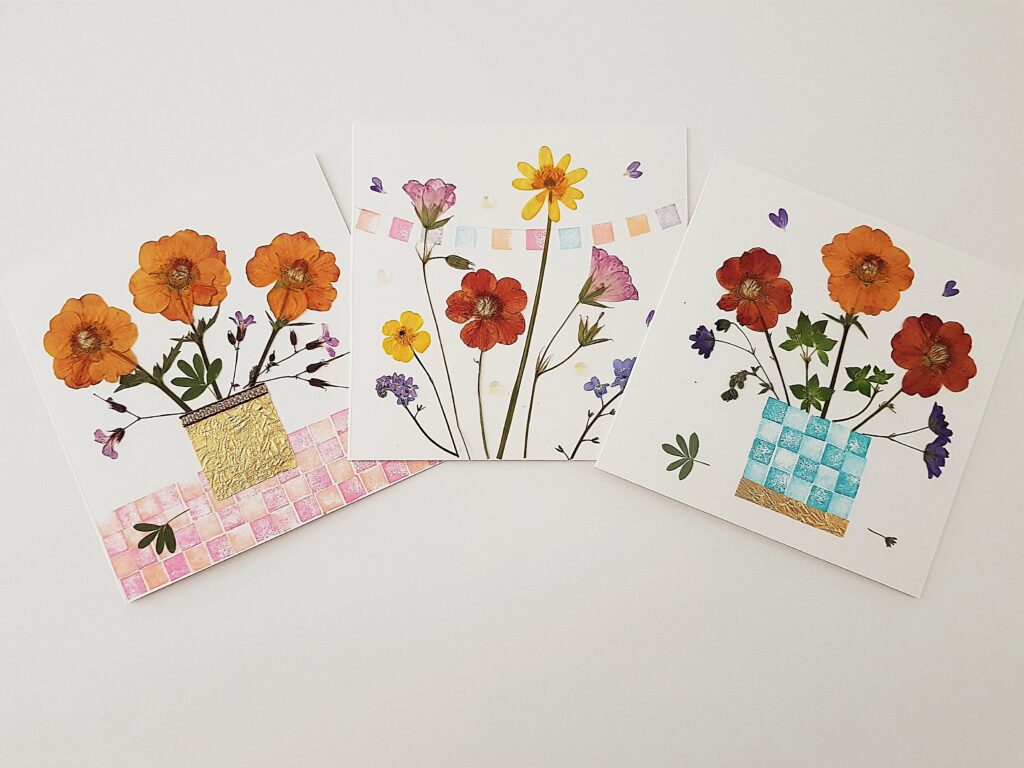
DIY Pressed Flower Greeting Card
Materials Needed:
Pressed flowers (variety of shapes and colors)
Blank cards or cardstock (white or pastel works best)
PVA glue or Mod Podge
Small paintbrush
Tweezers (for delicate handling)
Optional: Fine-tip marker for adding messages or designs
Instructions:
Plan Your Design: Lay your pressed flowers on the card without glue first. Arrange them in a pattern you love — simple bouquets, floral borders, or abstract designs.
Glue the Flowers: Using a small brush, lightly apply glue to the back of each flower. Be gentle — too much glue can damage the delicate petals.
Place with Care: Use tweezers to carefully place each flower onto the card. Press down gently to make sure they adhere without tearing.
Seal and Protect: Once the design is set, brush a thin layer of glue or Mod Podge over the entire surface to seal the flowers and prevent damage. Let it dry completely.
Add a Personal Touch: Use a fine-tip marker to write a heartfelt message or add decorative flourishes. You can also add a small ribbon or washi tape for extra charm.
Final Touch: Let the card dry thoroughly before placing it in an envelope or gift box.
Pro Tips:
Minimalist designs often highlight the natural beauty of the flowers.
If the flowers are extra delicate, consider laminating the card for added durability.
Add a handwritten note about the flower’s origin — maybe a bloom from a meaningful place or event!